Ingredients
1 – Computer (Mac)
1 – Copy of Final Cut Pro X (version 10.1 or later)
1 – External Hardrive (some recommended drives are in this article – Getting Started With Final Cut Pro X)
Directions
-
Go to File → New → Library. A new window will appear.
-
Select your external hard drive. It will be listed on the left panel of the finder window.
-
Fill in a title for the new library in the box at the top of the window. It may say untitled if you haven’t chosen a name yet.
-
Select save in the bottom right of the window. The window will close, and now in the left panel where it says Libraries, the new library will be listed.
-
To reduce confusion, you can right click on the old library (the one created at the start of the project) and select Close Library. This will remove the selected library from the list.
-
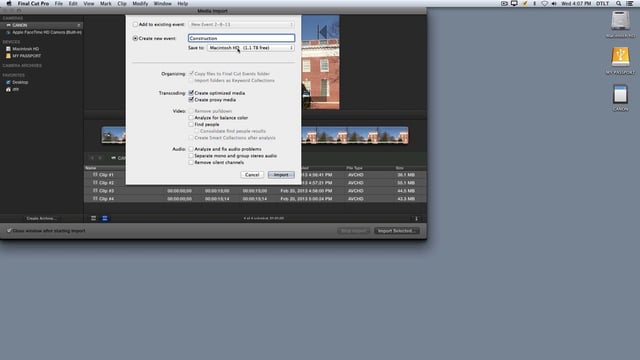
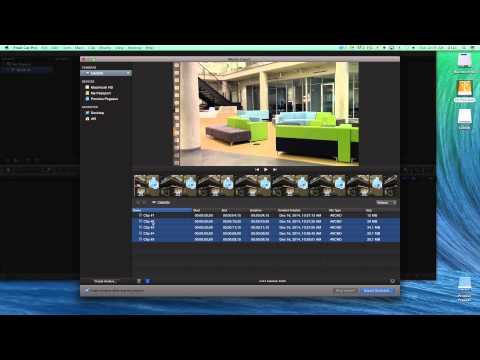
Select Import Media. An import window will open with available media. It may be neccessary to navigate to the location of the media you would like to import.
-
Select the media, and press Import Selected.
-
Ensure that the event or library you are uploading to is correct, and click Import. The media will now begin to upload. The “progress circles” that appear on each clip show the progress of the import.
-
Create a new project either by going to File → New → Project or clicking New Projectin the lower window.
-
Give the project a title and press OK. A timeline will now appear in the lower window where media can be added and then edited to create a new video.
-
Once you have finished, quit Final Cut Pro X and then be sure to Eject the drive. Now you can take your project with you.