So you went to your university’s media services department and checked out a camcorder with a tripod. You want to put a lecture or presentation that you recorded up on YouTube (or other video hosting site) for those who weren’t able to attend. You just pressed stop on the camcorder. Now what?
This article assumes some familiarity with your computer’s operating system, either a Windows or Mac machine. You will need to get the video off of the camcorder’s memory card (SD card), and you’ll need to find those digital video files and upload them to your YouTube account. You have a YouTube account, right? The SD memory card inside the camcorder has a file (or files) on it.
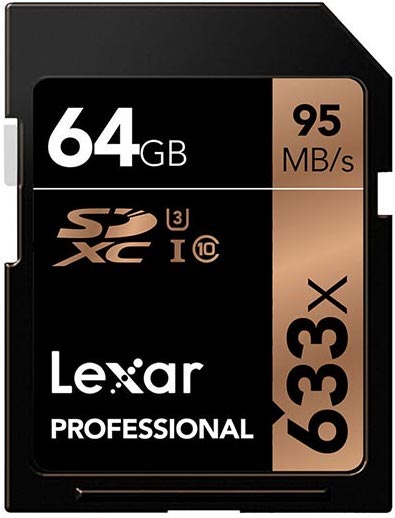
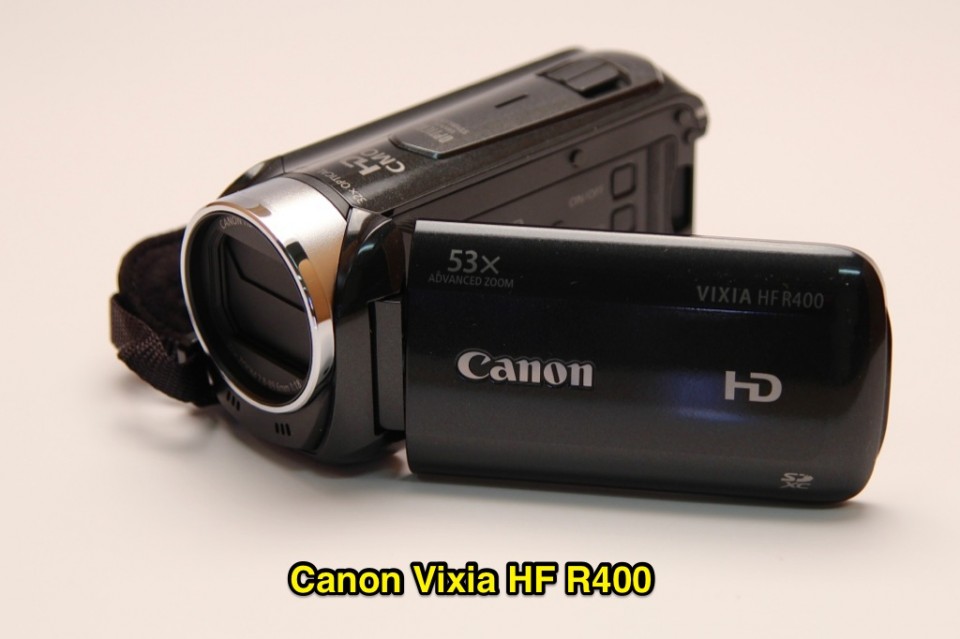
SD Card
Depending on your camcorder and the quality you choose for your video, the file for 20 minutes of video can be upwards of 4GB. Depending on your connection to the Internet, these files could take a long time to upload. You may want to use a video compression program like Handbrake to make the files smaller before uploading them to YouTube.
You have two options for looking on the memory card. The first is to connect the camcorder, using the USB cable that came with it, to an empty USB port in the computer. The second option is to remove the card from the camcorder, and either use your computer’s built in SD card reader, or attach a memory card reader to your computer, usually via a USB port. After inserting the card (give it a few seconds) you will see some indication that the computer recognizes the memory card. Depending on whether you use Windows or a Mac, and what programs you have installed, many different things could be triggered on your computer. On a Windows machine, you will likely get a window that gives you a few options (“Autoplay”). On a Mac it may open a photo app (the Photos program – older Macs have iPhoto).
Regardless of what happens, and especially if nothing happens, you may want to browse for the files on the memory card. On Windows that generally means opening something like the “E:” drive (or some other letter – your computer’s hard drive is the “C:” drive). On a Mac, you’ll double-click the icon of the memory card on the Desktop, or by selecting it in an open Finder window.
Now comes the fun part – finding the file(s). The brand and model of camcorder will change where you find these files. Most of the time, you’ll want to look in the DCIM folder/directory (DCIM stands for Digital Camera IMages). Once inside, you should see another folder (or folders) that will contain the videos.
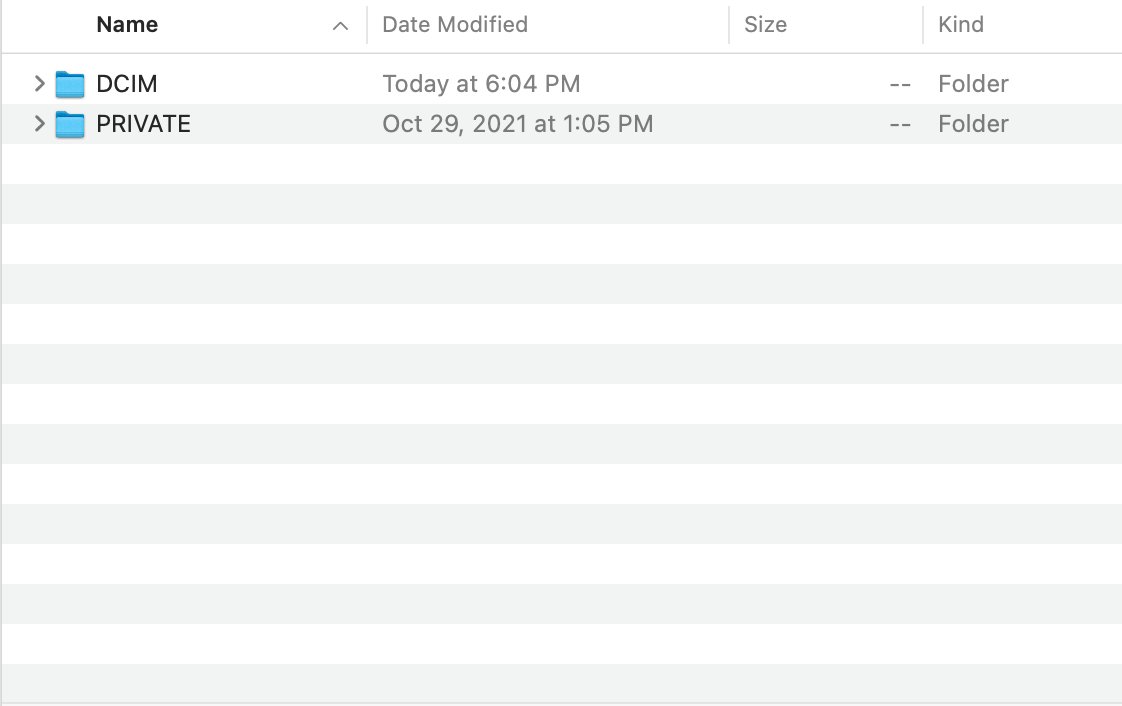
These folders will generally have a date associated with them. If you only took one video, there should only be one folder. Once inside that folder you should see the video files. They will have an “MP4” extension on them. You have struck gold!
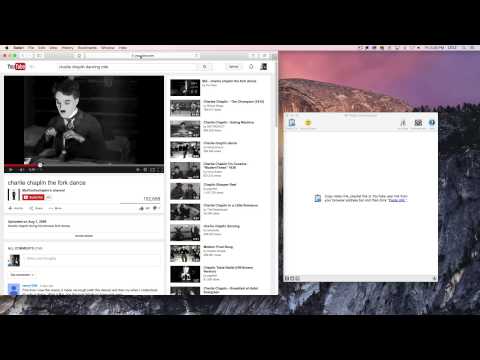
These will be the files that you will upload to YouTube. Open up your web browser and navigate to your YouTube channel (sign in, if you haven’t already). Look for the Upload button next to your account icon in the upper-right corner. You should now see an area on the web page where you can drag your files onto the upload icon.
Since we told you how to find your files, they should be right there, ready to drag and drop into the upload window. You could also click on the “up-arrow” to start browsing your memory card for the files.
Now you just follow the procedure for uploading any video to YouTube – give the video a name and a description and make sure to give it some tags so that people can find it. If you don’t want people to find it, make sure to keep it “Private” so that no one but you (or other people signed in) can see it, or make it “Unlisted” so that it is not searchable but anyone can get to it as long as they have the web address link.
The article Making Movies for YouTube will provide you with more information about the steps you’ll take from shooting your video to uploading it, to embedding your video in a web page.
flickr photo by mariskar