Ingredients
1 – Computer (Mac)
1 – Video Camera with SD Card, or USB cable connection
1 – Final Cut Pro X Software
Directions
-
Open Final Cut Pro X
-
Insert the SD Card from the video camera into the computer’s SD Card Reader. Alternatively, you can connect the USB cable from your camcorder to your computer.
-
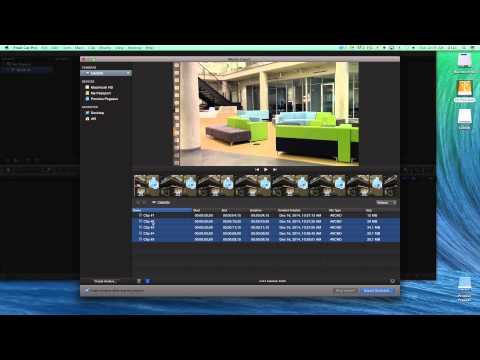
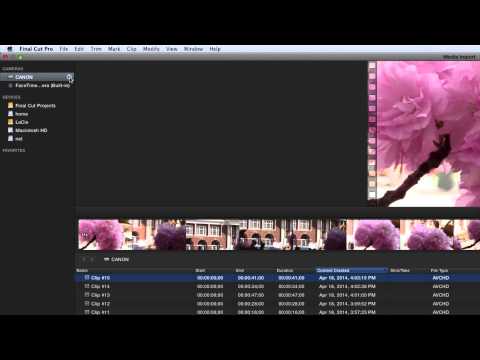
If the Import Media window doesn’t open automatically, click the Import Mediabutton (The down arrow icon on the left side of the toolbar).
-
Select the appropriate camera icon from the Camera listing and then click Create Archive… in the lower left corner.
-
Navigate to where you would like to save the archived video files.
-
Name the archive and click Create.
-
Once the progress circle by the camera name has filled completely, you may “eject” the camera and then remove the SD Card or disconnect the USB cable.
-
To import media from your archive, click the Import Media button, navigate to where you saved the archive, and double-click the archive icon to import the media just as if your camera was physically connected.
-
NOTE – You can read and import from a Camera Archive in either Final Cut Pro X or iMovie.