Step #1 – Shooting your video: We’ll assume that you have already shot the video for your project. However, we have some tips for shooting video, using lighting, and getting good sound.
Step #2 – Getting your video on the computer: Depending on what you used to shoot your video, you will need to get the video file(s) onto your computer. In general follow the instructions that came with your camera. If you are using a camera with an SD, or micro SD memory card, you will either need to remove the card from your camera and insert it into your computer, or you’ll need to use a USB cable to transfer the data to the computer. If you are using a PC, the Microsoft Photos program can be used to transfer the video from your camera (yes, the Photos app does video too!). iMovie will allow you to import video on the Mac.
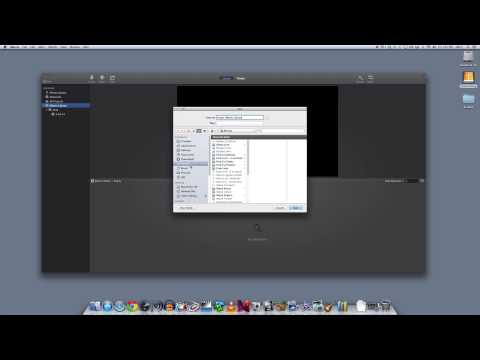
Step #3 – Editing Your Video: Assuming you will take the raw footage from your camera and add titles and transitions, you will need a video editor. Again, if you use a PC, then Microsoft Photos is the program that is included with the Windows 10 operating system to edit your video. If you use a Mac, iMovie will be what you use. We have some tutorials on using iMovie that you can view on this website.
When you have a final edited version, complete with titles, transitions, and any additional audio, you will need to save the movie for uploading to YouTube. YouTube can accept many different formats of video as long as the length of the video is 15 minutes or less (you can up this limit if you verify your account), and as long as the file is less than 128GB (gigabytes). Some video editing programs have a built-in uploader to YouTube, while others simply save a video file that is optimized for YouTube and then you use their website to upload it. Read on to see how to do that.
Step #4 – Uploading Video to YouTube: If you used an editor as specified in the previous step, you will upload the exported video file that you saved onto your computer from the editor. Generally, this will be an MPEG-4 (MP4) file.
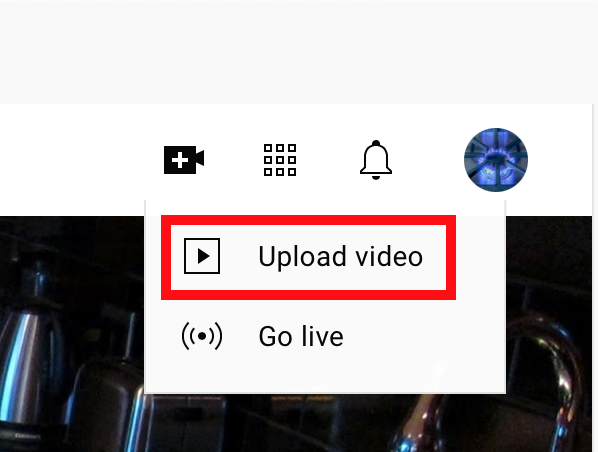
If you haven’t already, you need to sign up for a YouTube account. You then sign in to YouTube and look for the “Create” button (a camera icon with a + sign) in the upper right corner of the page. Click on it and choose Upload video.
Next either choose the “Select Files” button or drag and drop your video file(s) into the window. You will need to provide a Title, Description, a Category, and include at least one “tag” (a keyword) so that people can search for your video. There are other options that you can choose, such as making a video private or public (they’re public by default), as well as date, mapping, and sharing options.
It will take a while for the video to upload, depending on the size of the file, your connection speed to the Internet, and how busy the YouTube site is. Once your video is done uploading, additional time is needed to convert the video to the format that will play on the YouTube site. Again, depending on how busy the site is, your video will be available generally within an hour.
There is also a YouTube Video Editor that you can use to edit videos that you’ve uploaded.
You can now tell people about your video by linking to it, or by embedding it on your own web page. Congratulations, you are now a YouTube video producer!
Adding a Video to a post on a blog
- To add video to a site, you will need to create a video and upload it to a video-hosting site like YouTube, or Vimeo, or some other service of your choice.
- Once you have uploaded your video to your video-hosting site, you now need to embed it on your blog.
There are two ways to embed your video on a WordPress site. The easiest way is to simply copy the link to the YouTube (or Vimeo) video into the blog editing window. WordPress will know what to do and display your video embedded in the post. To make sure this works correctly, in YouTube you can find the correct URL by clicking the Share button below the video. There you can get the link, or you can also use what is known as the Embed code (look for the Embed button in the Share options), and this will give you greater flexibility for displaying your video, like changing the size, or color of the border of the video.
That’s it, just be sure to give your video a description, and tag/categorize your video properly and you’re all set!
Other Resources:
- How to Upload to YouTube
- How to Upload to Vimeo
- Embedding videos in WordPress (what sites are supported)