digital media cookbook
Recipes for your Digital Media Kitchen
Search
Search
Close this search box.
Home
About
Audio
Video
Sitemap
Menu
Home
About
Audio
Video
Sitemap
Youtube
Mastodon
Getting
Started With Final Cut Pro X
Podcasting
– Busting the myths
Sign
Up for a WordPress.com Account
Published on
November 30, 2016
Follow Us
Our
ARTICLES
So Long. Farewell.
March 13, 2019
Filmic Pro
November 30, 2016
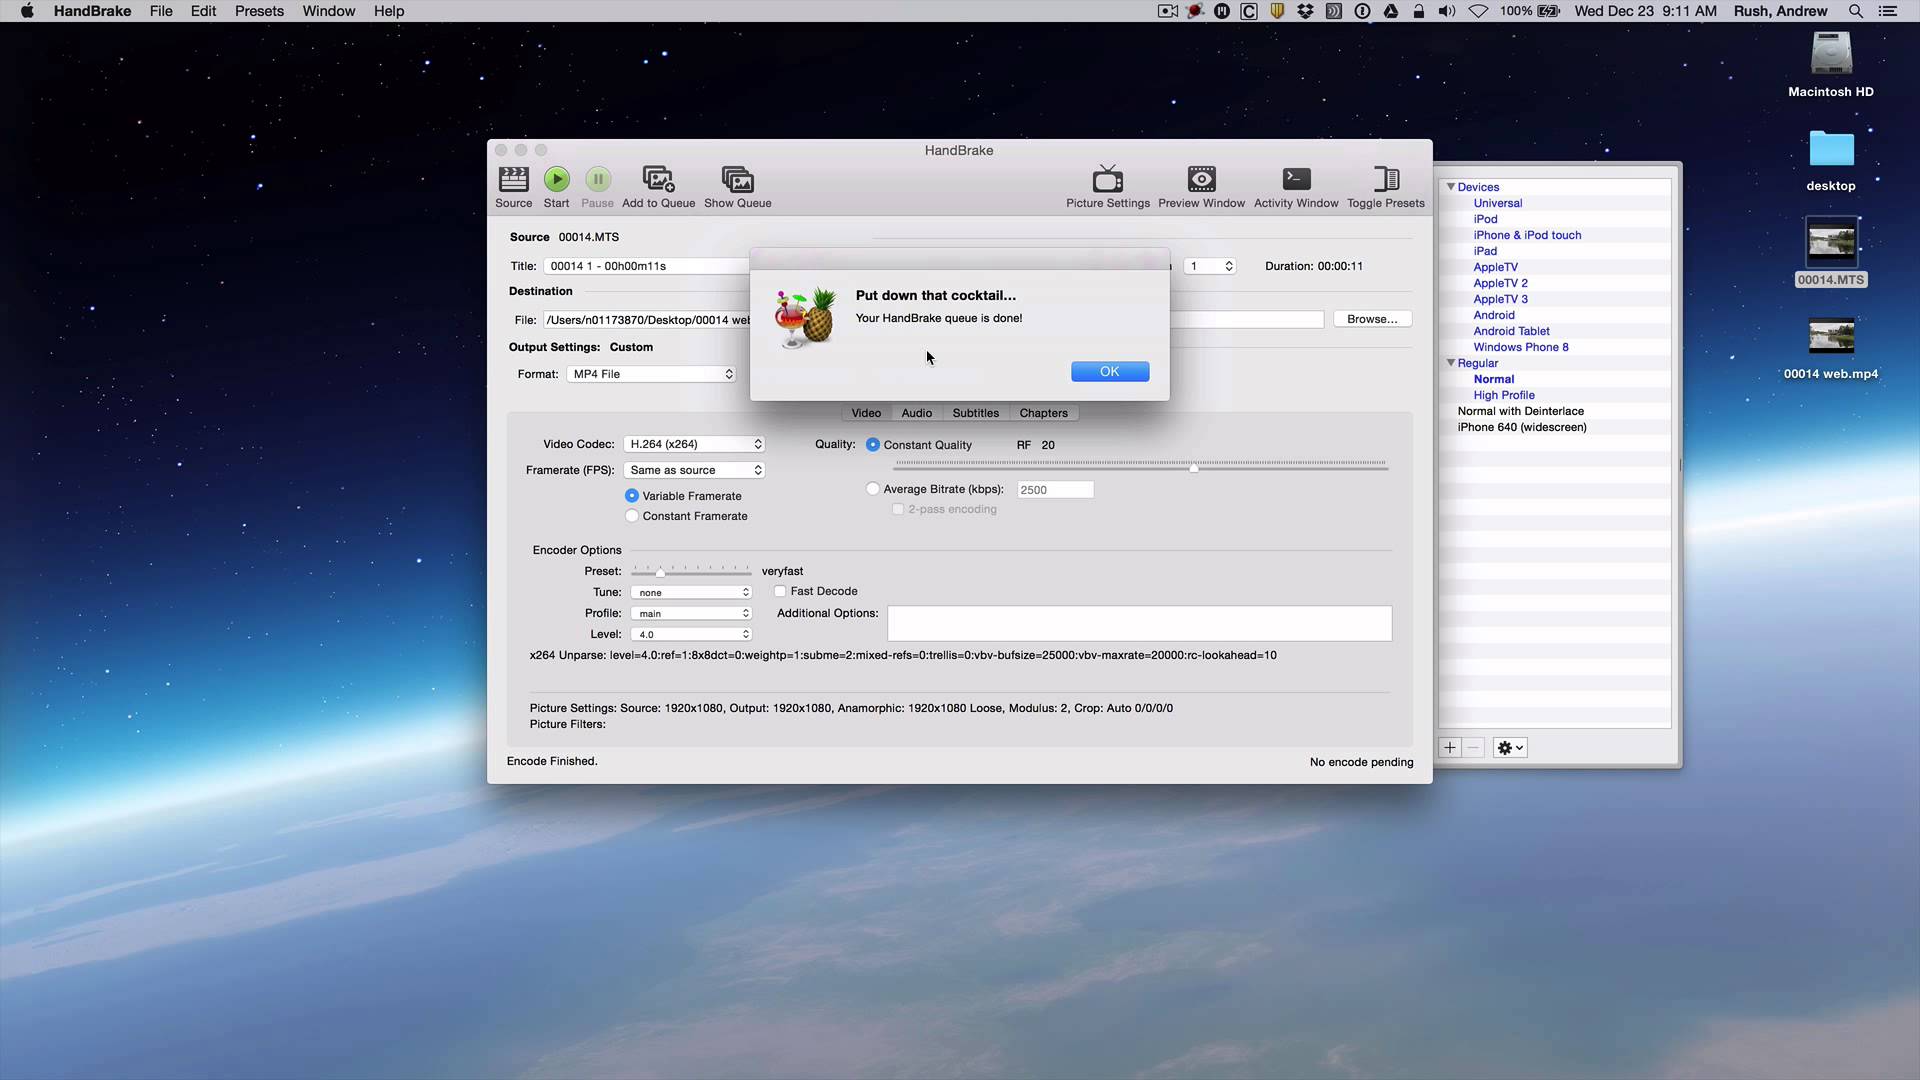
Compress a Video File with Handbrake
January 6, 2016
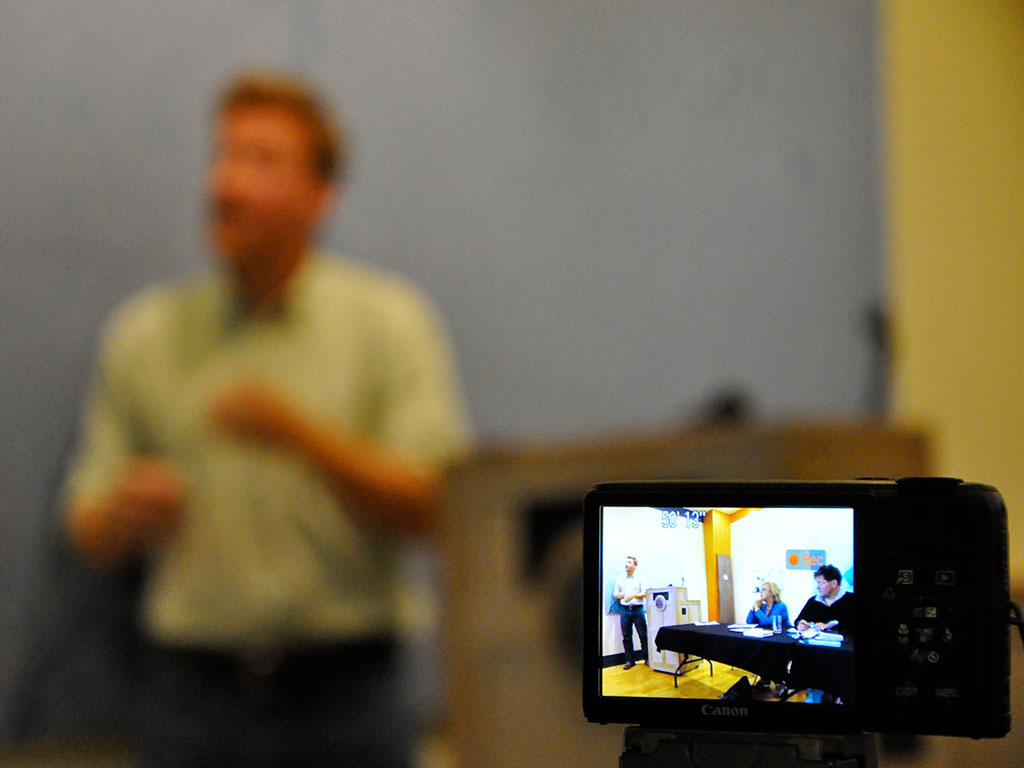
I Need That Lecture Video Online Right Away!
December 2, 2015
Making Movies for YouTube
November 4, 2015
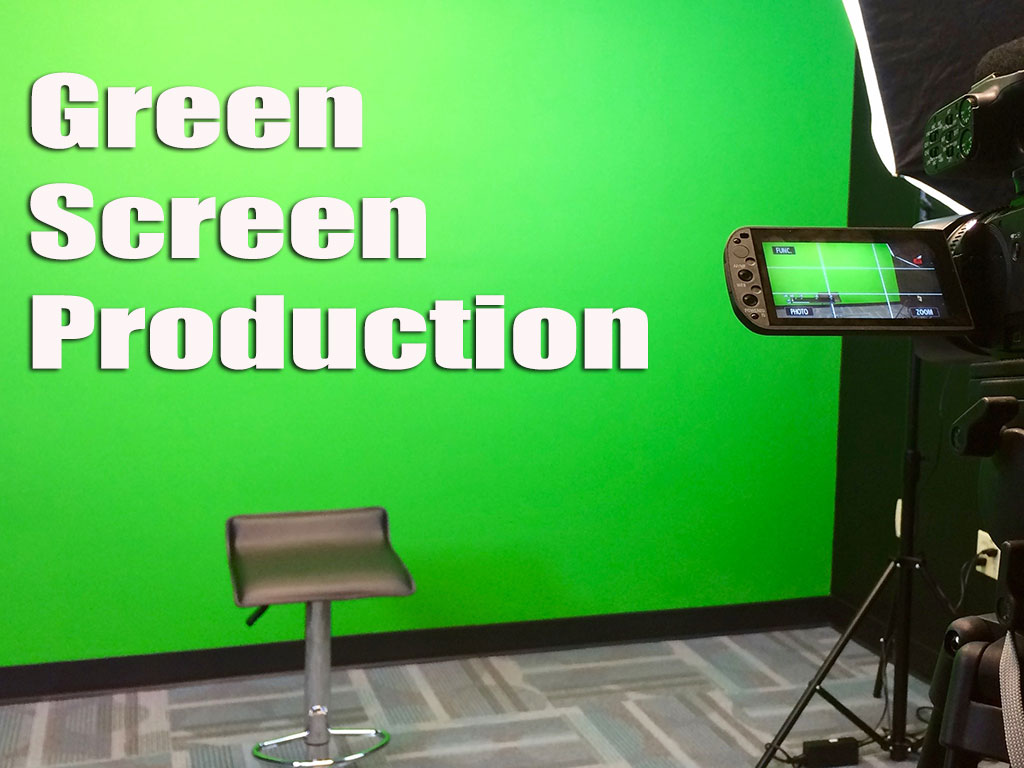
Green Screen Production
November 3, 2015
Course Trailers
November 2, 2015
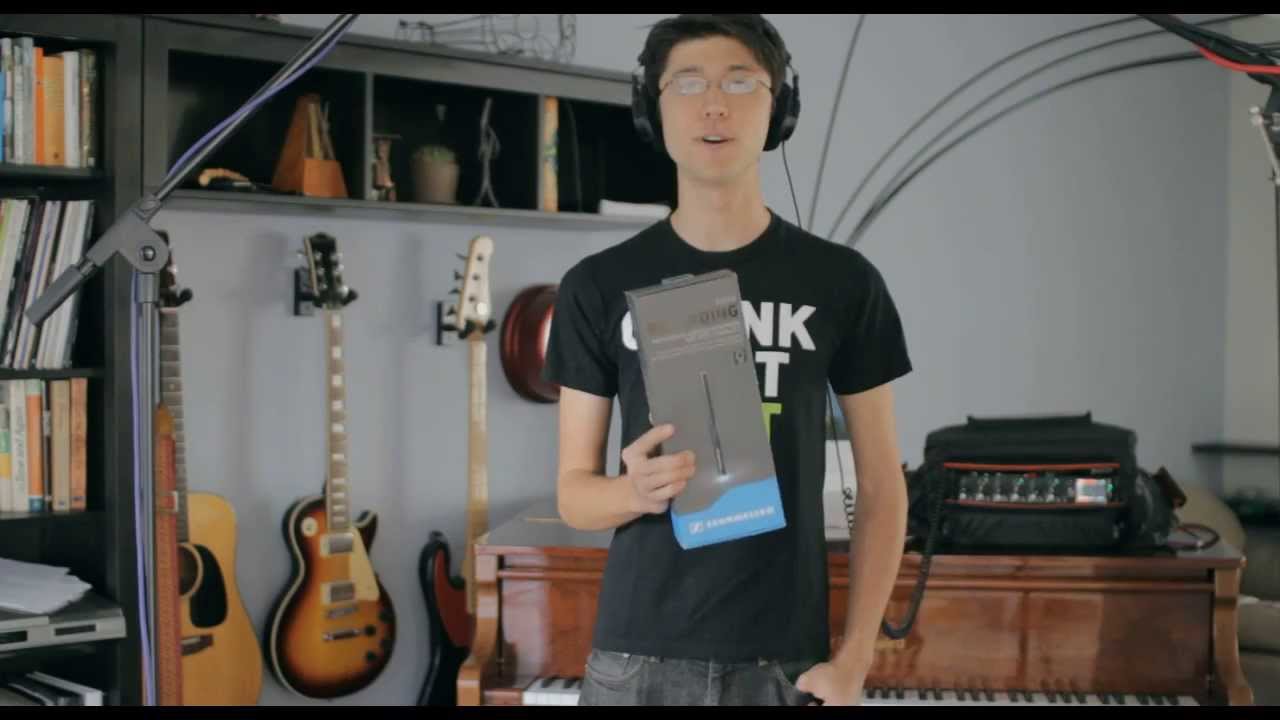
Sennheiser MKE600 Shotgun microphone
October 15, 2015
Audacity Tips
October 15, 2015
« Previous
Page
1
Page
2
Page
3
Page
4
Page
5
Next »
Tags
Audio
camcorders
cd
chromakey
course trailers
Domains
dvd
editing
featured
final cut pro
final cut pro X
greenscreen
ifttt
imovie
introduction
itunes
mac
macintosh
mp3
podcast
podcasting
sdcard
studio
Video
virtual
vlc
WordPress
youtube
Verified on
Mastodon