Ingredients
1 – Computer (PC or Mac)
1 – Apple’s iTunes program (current version as of this post 12.1)
1 – Any Audio CD that is playable in a standard CD player
Directions
- Start the iTunes program.
- Before you insert the audio CD, you want to make sure that files will be converted into your preferred format. Choose the iTunes Menu and select Preferences.
- On the General tab, the area at the middle of the page that states “When you insert a CD”, make sure ”Ask to Import CD” is showing.
- Click the Import Settings button.
- For the “Import Settings”, you can generally choose between higher or lower quality settings. Click OK, and then OK again to close the Preferences window.
- Insert the audio CD into your CD-ROM drive.
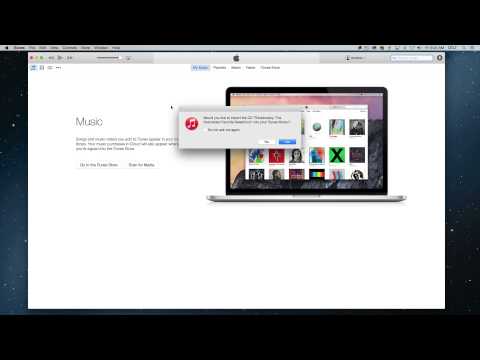
- After scanning the CD, iTunes will display the track or tracks found on the CD and you will be asked if you would like to import the CD into your iTunes library. Click Yes to do so.
- iTunes will now import each song on the audio CD. Importing the CD means converting each song into an audio file and copying it to your hard drive in the format you selected.
- When the tracks have been imported, a small green checkmark appears next to each file.
- When you click on your Music Library, you should see that the tracks have been added.
- If you wish to locate the file on your hard drive, right-click the file name in the library and choose Show in Finder on the Mac, or Show in Windows Explorer on a Windows computer.
- Enjoy your music!