digital media cookbook
Recipes for your Digital Media Kitchen
Search
Search
Close this search box.
Home
About
Audio
Video
Sitemap
Menu
Home
About
Audio
Video
Sitemap
Youtube
Mastodon
Category:
WordPress
Page 1
/
1
WordPress
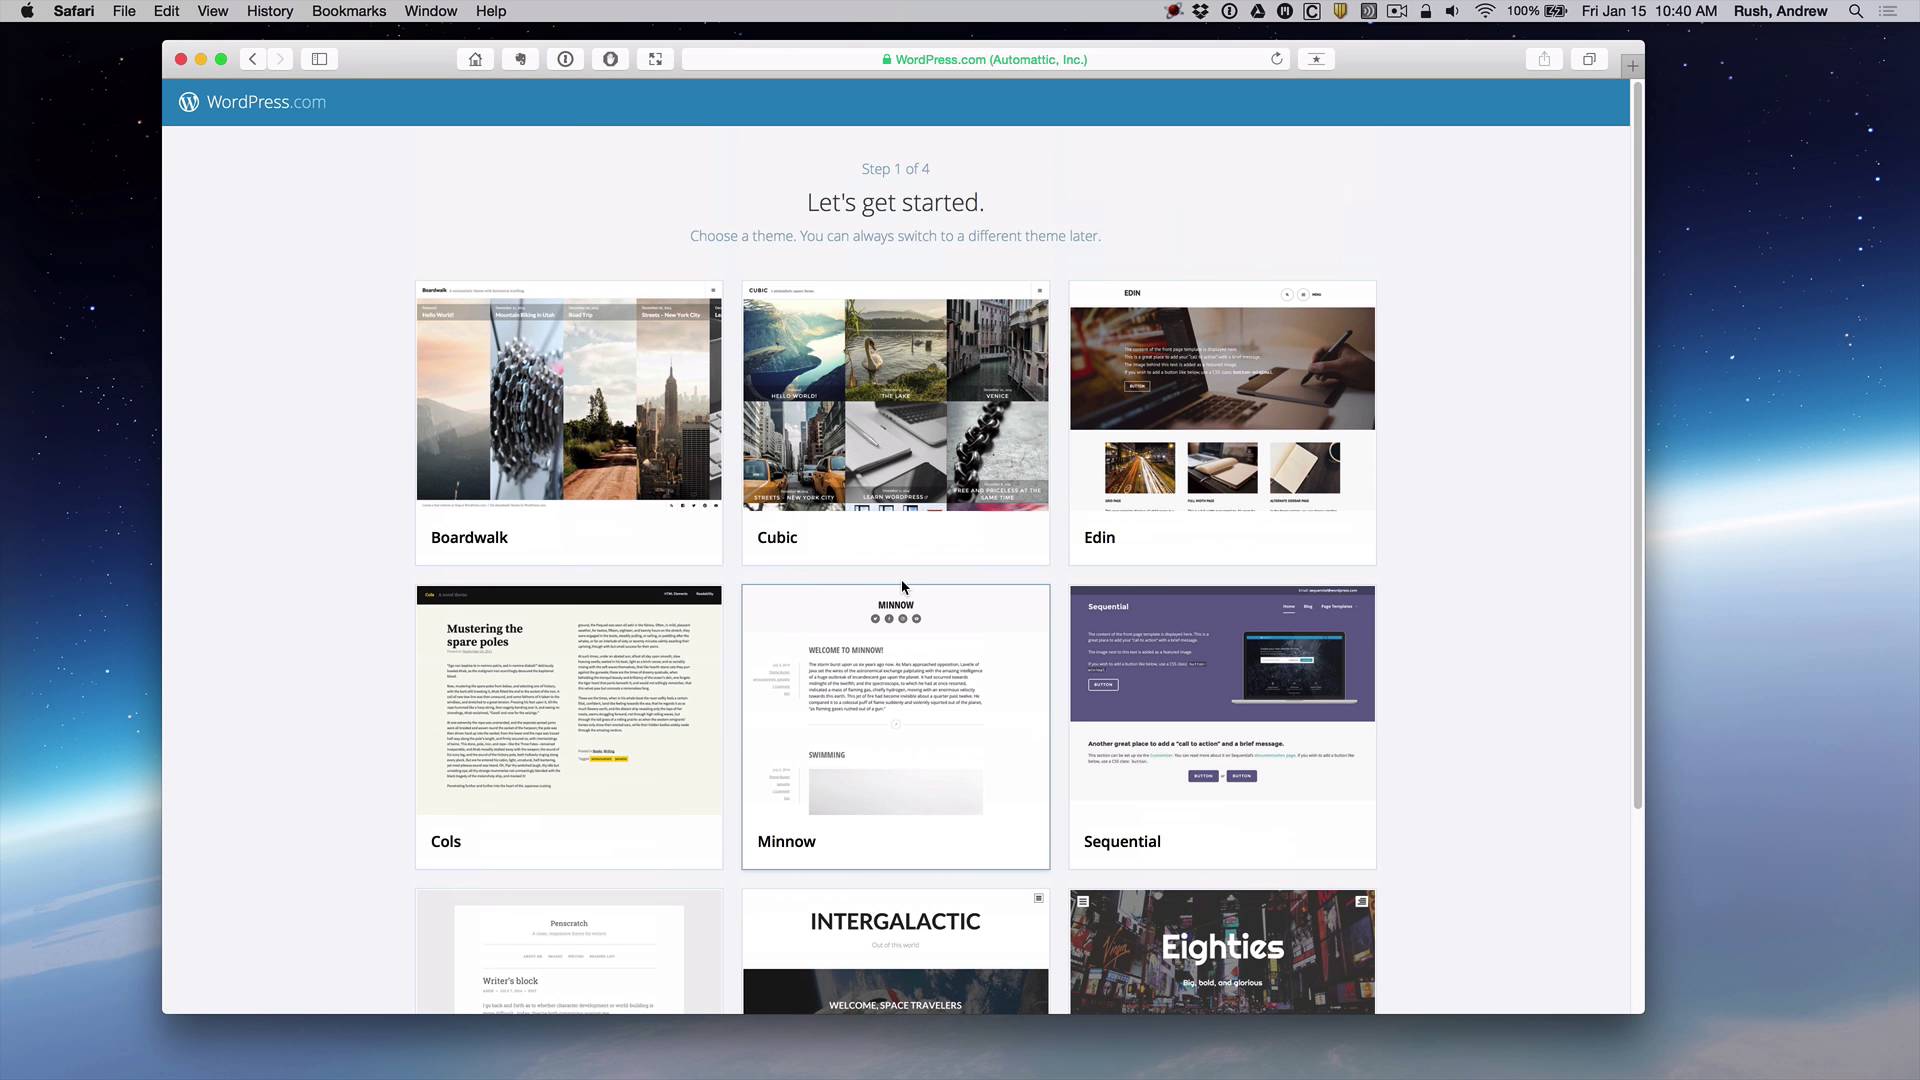
Sign Up for a WordPress.com Account
December 1, 2021
—
0 Comments
WordPress
,
YouTube
Using If This Then That (IFTTT)
March 23, 2013
—
0 Comments
Search the Kitchen
Search
Cookbook Tabs
Cookbook Tabs
Select Category
Audio
Equipment
Featured
Final Cut Pro
General
iMovie
iTunes
podcasting
RSS
Software
Video
Web
WordPress
YouTube
Tags
Audio
camcorders
cd
chromakey
course trailers
Domains
dvd
editing
featured
final cut pro
final cut pro X
greenscreen
ifttt
imovie
introduction
itunes
mac
macintosh
mp3
podcast
podcasting
sdcard
studio
Video
virtual
vlc
WordPress
youtube
Side Dishes
About DMC
Sitemap